You have spent hours, perhaps weeks, designing and developing the perfect website in your local environment. Every pixel is in place, every function is working perfectly. Now comes the moment of truth: launching your project to the world. The process of move WordPress from local to server may seem like a technical and daunting task, but it doesn't have to be. With the right guidance and a methodical approach, you can ensure a smooth and error-free transition. In this post, we'll take you step-by-step through the two most reliable methods for moving your website from a private project on your computer to a public platform accessible to all.
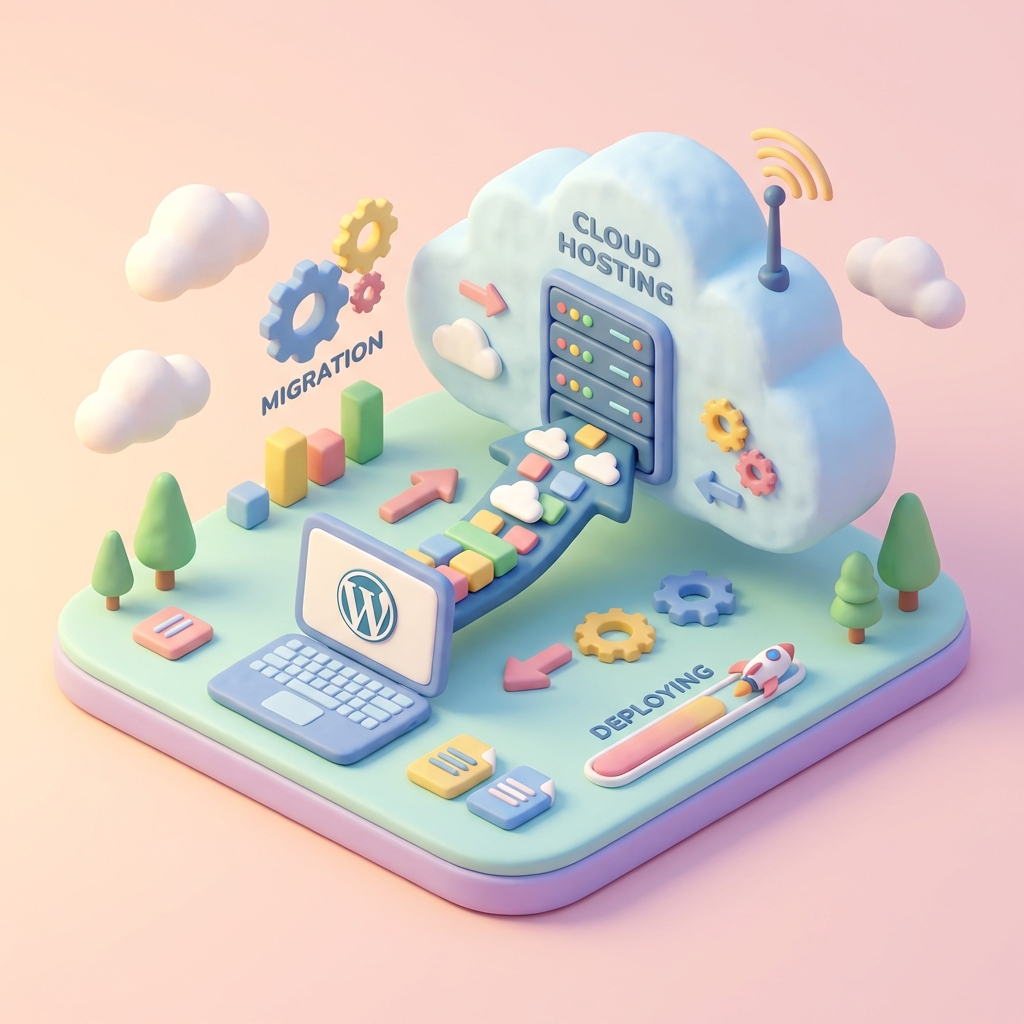
Why is it Crucial to Move your WordPress Site from Localhost to a Professional Server?
Working in a local environment with tools like XAMPP, MAMP or Local by Flywheel is an excellent practice for development. It is fast, secure and does not require an internet connection. However, a personal computer is not designed to be a 24/7 web server. The real reason to migrate is that a local environment lacks the robust infrastructure of professional hosting.
As explained by the experts at Webempresa in its guide on WordPress relocation, a server in a professional datacenter offers:
- Optimized Performance: Dedicated networking hardware, NVMe SSDs and advanced caching software (such as LiteSpeed) dramatically accelerate load times.
- Higher Level Security: Firewalls, intrusion detection systems, DDoS protection and SSL certificates that a local environment simply cannot replicate.
- Reliability and Uptime: Guarantee that your site will be online and accessible to your visitors most of the time, thanks to redundant power supply systems and constant monitoring.
- Automated Backups: Periodic backups that save your work in case of any unforeseen event, a lifesaver that should not be underestimated.
In short, moving your WordPress from local to a server is the ultimate step to professionalize your project and guarantee its performance, security and availability.
Before You Begin: Essential Preparations for Migration
Good preparation is the 90% of success. Before touching a single file, make sure you have all of the following ready:
- A Contracted Hosting Plan: You must have a hosting provider and an active domain pointing to that provider's servers.
- Access Data: Have your hosting control panel login credentials (cPanel, Plesk, etc.) and your FTP/SFTP access data at hand.
- An Empty Database: From your hosting control panel, create a new MySQL database. Write down the database name, username and password. You will need them.
Full Backup: Before doing absolutely nothing, make a full backup of your local WordPress site (files and database). If something goes wrong, you can always go back to square one.
Method 1: Automated Migration with Plugin (The Recommended Fast Track)
For the vast majority of users, this is the way to go. Using a migration plugin minimizes the risk of human error and automates the more complex tasks, such as searching and replacing URLs in the database. The undisputed king for this task is Duplicator.
This method packages your entire site (files, plugins, themes and database) into two easy-to-manage files, as detailed in the LucusHost migration tutorial.
Step 1: Install and Configure the «Duplicator» Plugin»
In the administration panel of your local WordPress, go to Plugins → Add new and search for «Duplicator - WordPress Migration Plugin«. Install and activate it.
Step 2: Create your Migration Package
Once activated, you will see a new «Duplicator» option in your WordPress menu. Follow these steps:
- Go to Duplicator → Packages and click on «Create new».
- Give your package a name (optional) and click «Next». Duplicator will scan your site to make sure everything is in order.
- If the scan is successful, click «Create». The plugin will start packaging your site.
- When you finish, you will have two buttons to download two files: a compressed file (.zip) with all your content and a file installer.php. Download both to your computer.
Step 3: Upload Files to the Destination Server
Now, using an FTP client such as FileZilla, If you are using the `.zip` file, connect to your hosting server. Navigate to the root directory of your domain (usually `public_html` or `httpdocs`) and upload the two files you just downloaded: the `.zip` and the `installer.php`.
Make sure the `public_html` directory is empty before uploading files to avoid conflicts. If there was a default WordPress installation, delete it.
Step 4: Run Duplicator Installer
Open your browser and go to `https://tudominio.com/installer.php`. This will launch the Duplicator installation wizard.
- Step 1: Deploy. The installer will check the server requirements. Accept the terms and click «Next».
- Step 2: Install Database. This is where you will need the database data you created on the hosting server (name, username and password). Enter them and click on «Test Database» to verify the connection. If everything is correct, proceed.
- Step 3: Update Data. The installer will automatically detect the old URL (localhost) and the new one (your domain). Confirm that they are correct.
- Step 4: Test Site. You're done! The installer will give you a link to access the administration panel of your new live site.
Step 5: Cleaning and Final Check
After logging into your new WordPress, Duplicator will ask you to delete the installation files (`installer.php`, `installer-backup.php` and the `.zip` file) for security. Do this. Finally, go to Settings → Permanent links and, without changing anything, click «Save changes». This regenerates your `.htaccess` file and prevents 404 errors on internal pages.
Method 2: Manual Migration (Total Control for Power Users)
If you prefer to have full control over the process or if the plugin method fails for some reason (very large sites, server restrictions), the manual method is your alternative. It is more technical and requires more attention to detail.
Step 1: Export Local Database
In your local development environment, access to phpMyAdmin. Select your WordPress site database in the left column, go to the «Export» tab, leave the default options («Quick») and click «Continue». A `.sql` file will be downloaded to your computer.
Step 2: Upload the WordPress Files via FTP
Connect to your hosting server via FTP. Navigate to the `public_html` folder and upload all files and folders from your local WordPress installation. This may take some time depending on your connection and the size of your site.
Step 3: Import the Database into the Hosting Server
Log in to your hosting control panel and open phpMyAdmin. Select the empty database you created in the preparations. Go to the «Import» tab, select the `.sql` file you exported and click «Continue».
Step 4: Update the URL in the Database (Critical Step)
This is the step where most manual migrations fail. As detailed in the Webempresa manual guide, If you have to update the URLs directly in the database, it is crucial to update the URLs. In phpMyAdmin, find the `wp_options` table (the `wp_` prefix may vary). Edit the `siteurl` and `home` rows and change their values from `http://localhost/tuproyecto` to `https://www.tudominio.com`.
Step 5: Configure the `wp-config.php` File
On the server, locate the `wp-config.php` file you uploaded. Edit it and update the following lines with the data from the database of your hosting server:
define( 'DB_NAME', 'your_bd_name_on_server' );
define( 'DB_USER', 'user_of_your_bd_on_server' );
define( 'DB_PASSWORD', 'password_of_your_bd_on_server' );
define( 'DB_HOST', 'localhost' ); // Generally it is 'localhost', consult your hosting if it does not work.
Step 6: Regenerate Permanent Links and Fix URLs
You should now be able to access `https://www.tudominio.com/wp-admin`. Log in with your usual credentials. Go to Settings → Permanent links and click «Save changes».
It is very likely that there are still internal URLs (images, links in the content) pointing to `localhost`. To fix this, install the plugin «Better Search Replace», search for `http://localhost/tuproyecto` and replace it with `https://www.tudominio.com` in all tables.
Common Errors When Moving WordPress from Local to Server and How to Fix Them
- Error establishing a connection to the database: Check 10 times the data in your `wp-config.php` file. A simple typo is the most common cause.
- White Screen of Death (WSoD): It may be a problem with a plugin or theme. Try disabling them by renaming their folders via FTP. You can also enable WordPress debug mode to see a more specific error message.
- Broken Images or Localhost Links: The Better Search Replace plugin is your best friend to solve this in a massive way.
- 404 Errors in Internal Pages: This is almost always solved by regenerating the permalinks as explained above.
Conclusion: Your WordPress Site is now Live
Congratulations! You have successfully completed the task of move WordPress from local to server. Whether you have opted for the simplicity of a plugin like Duplicator or the control of the manual method, your project is now available to the public.
Remember that a successful migration is all about preparation and following the steps carefully. Now that your website is in a professional environment, you can focus on what really matters: creating amazing content, attracting visitors and growing your online presence.
Do you need help with this?
We'll migrate your website without losing your search rankings: preliminary audit, 301 redirects, and comprehensive verification. Discover our Web migration service without losing SEO.