Are you thinking of changing hosting and the thought of moving your entire website gives you the creeps? It's a common feeling. Many turn to plugins that promise one-click migrations, but (in my experience) when something goes wrong there are often hidden costs, limitations or an extra layer of unnecessary complexity. The good news is that there is a cleaner, more powerful alternative that gives you full control over your project: learning to migrate WordPress without plugin. This manual method is not only free; it also gives you a real understanding of what is going on with your files, your database and your URLs. In this complete guide, we will take you by the hand, step by step, to perform a successful, safe and surprise-free manual migration.
Preparatory Phase: What You Need to Know Before You Start
Before diving into the technical aspects, good planning is crucial. As experts point out, there is a essential preparatory phase before starting technical migration. In my experience, most migrations that "get complicated" do not fail because of the process itself, but because they start without clear data (credentials, routes, final domain and timing). Let's make sure we have everything ready.
1. The Strategic Choice of the New Hosting
The most common reason for a manual migration is undoubtedly to change provider. This decision should not be taken lightly. As the WordPress community, the choice of the new hosting is a strategic factor which will determine the performance, security and future scalability of your site. Do your research and choose a provider that offers:
- Superior performance: NVMe SSD disks, WordPress optimized servers (e.g. LiteSpeed) and good resource management.
- Quality technical support: A team that responds quickly and efficiently is your best ally if something goes wrong.
- Robust security: Proactive measures against malware, firewalls and automatic backups.
- Access to tools: An intuitive control panel (like cPanel or Plesk) with access to phpMyAdmin and file managers.
2. Essential Tools for Manual Migration
You don't need a complex arsenal, but you do need a couple of key tools:
- FTP/SFTP client: A program to transfer files between your computer and the server. FileZilla is the most popular and is free of charge.
- Plain text editor: To edit configuration files. Do not use Word or Google Docs. Options such as Visual Studio CodeSublime Text or even Windows Notepad are perfect.
- Access to your credentials: Have at hand the FTP/SFTP and control panel access data for both your current (source) and new (destination) hosting.
Good practice: I usually create a folder on my computer dedicated exclusively to migration and, inside it, two subfolders: "Files" and "Database". Keeping it organized like this (especially if you have to repeat an upload or re-import later) saves you a lot of headaches.
Step 1: Complete Backup (The Most Critical Step)
If there is one commandment in the digital world, it is this: always make a backup before touching anything. The first critical step is the complete backup of the site.. In my experience, this is the point that makes the difference between "nothing happens, I'll redo it" and losing hours (or data) for a detail. This backup is your lifeline: if something goes wrong, you will be able to restore your website to its original state without surprises.
Critical Note: Do not skip this step. We repeat: DO NOT skip this step. A migration without a complete and verified backup is a high-risk gamble that you cannot afford.
Copying WordPress Files via FTP
- Connect to your source server using your FTP client (FileZilla).
- Navigate to the root directory of your WordPress installation. It is usually called
public_html,wwwohttpdocs. - Selects all files and folders (including hidden files like
.htaccess). - Download them to the "Files" folder you created on your computer. This process may take some time depending on the size of your website and your internet connection.
Exporting the database with phpMyAdmin
- Access the control panel of your home hosting and look for the tool phpMyAdmin.
- In the left column, select the database of your WordPress site. If you don't know which one it is, you can find the name in the file
wp-config.phpin the linedefine('DB_NAME', 'db_name');. - Once the database is selected, click on the "Export" tab in the top menu.
- Choose the "Quick" method and the "SQL" format.
- Click on "Continue". A file with extension
.sql. Save it in your "Database" folder.
Step 2: Setting up the Environment in the New Hosting
Now that we have a complete copy of our site, it is time to prepare your new home. The manual process involves, necessarily, create new items on the target server. This means that we need an empty database ready to receive our data.
Creating a New Database
- Log in to the control panel of your new hosting.
- Find the "Databases" section and click on "MySQL Database Wizard" (or a similar option).
- Create the database: Assign a descriptive name (ex:
myweb_wp1). - Create a user: Give it a user name (e.g:
myweb_usr) and generates a strong and secure password. - Assigns privileges: Associate the user you just created to the new database and give it "All privileges".
Important! Write down in a safe place the name of the new database, the user name and password. You will need them in a later step.
Step 3: Uploading Files and Database to the New Server
With the new home ready, it's time for the move. Let's upload everything we unloaded in Step 1.
Uploading WordPress Files
- Using your FTP client, connect now to your new server.
- Navigate to the root directory (
public_html,wwwetc.). - Upload all files and folders from your local "Files" folder to the server. Again, be patient, this may take some time.
Importing the Database
- Go back to the control panel of your new hosting and open phpMyAdmin.
- Select the empty database you created in Step 2.
- Click on the "Import" tab.
- Click on "Select file" and choose the file
.sqlthat you saved in your "Database" folder. - Make sure the format is "SQL" and leave the other options as default. Click "Continue".
If the import is successful, you will see a confirmation message and your tables will appear in the left column.
Step 4: Connecting WordPress to the New Database
Right now, your WordPress files on the new server are still trying to connect to the old database. We must tell them where to find the new one. This is done by editing a core file: wp-config.php.
Editing the wp-config.php file
- In your FTP client, connected to the new server, browse for the file
wp-config.phpin the root directory. - Download it to your computer as a backup (just in case).
- Right click on the file on the server and choose "View/Edit". It will open with your text editor.
- Look for the following lines of code:
define( 'DB_NAME', 'old_db_name' );
define( 'DB_USER', 'old_db_user' );
define( 'DB_PASSWORD', 'old_password' );
define( 'DB_HOST', 'localhost' );
Replace the old values with the data from the new database you created and saved in Step 2. The value of DB_HOST is usually localhostbut some hostings use a different address. In my experience, when it "does not connect" in spite of having the correct user/password, many times the culprit is precisely DB_HOST. Check with your support if you are unsure.
define( 'DB_NAME', 'myweb_wp1' ); /* Your new database name */
define( 'DB_USER', 'myweb_usr' ); /* Your new user */
define( 'DB_PASSWORD', 'YourNewStrongPassword' ); /* Your new password */
define( 'DB_HOST', 'localhost' ); /* Generally 'localhost' */
Save the changes. If you edited the file locally, be sure to upload it back to the server, overwriting the original.
Step 5: Updating URLs and Permalinks (The Finishing Touch)
We're almost done! But one crucial step remains. Your database still contains references to your old domain or old server file path. If we don't update them, you will have broken links, images that don't load and redirection problems.
The Simplest and Safest Solution: Search and Replace Scripting
The most reliable way to update all URLs is to use a specialized script that correctly handles WordPress serialized data (something that a simple search and replace in the .sql file can break). In my experience, this serialization detail is the one that "breaks" migrations the most when trying to do it by hand.
- Download the script Better Search Replace of Interconnect/it (the standalone/script version, not the plugin).
- Unzip the file and upload the folder (named
search-replace-db-masteror similar) to the root of your new server. - Access the script in your browser by visiting
https://tuevodominio.com/nombre-de-la-carpeta-del-script. - The script will autodetect the data from your database from
wp-config.php. - In the "search for" field, enter your old domain (ex:
http://dominioantiguo.com). - In the "replace with" field, enter your new domain (ex:
https://nuevodominio.com). Be sure to includehttp://ohttps://correctly. - Do a dry run first to see what changes would be made. If everything looks OK, run the live run.
Mandatory Security Action: Once you have finished using the script, immediately remove it from your server. Leaving it there is a massive security risk.
Regenerate Permanent Links
This last technical step ensures that the URL structure of your site works correctly.
- Log in to your WordPress administration panel on the new domain.
- Go to Settings > Permanent Links.
- Do not change anything. Simply click the "Save Changes" button twice. This will rebuild your file
.htaccesswith the correct paths to the new server.
Step 6: Point the Domain to the New Hosting
The last step is to tell the world that your website now lives at a new address. This is done by changing the name servers (DNS) of your domain.
- Your new hosting provider will have provided you with at least two nameservers. They look like this:
ns1.newhosting.comandns2.newhosting.com. - Go to the control panel of your domain registrar (where you bought your domain, which may or may not be the same as your old hosting).
- Look for the DNS or Name Server management section.
- Replace the old nameservers with the new ones provided by your new hosting.
This change may take 24 to 48 hours to propagate worldwide. During this time, some visitors may see the old site and others the new site. In my experience, the key here is patience and always check on more than one network/device before finalizing the process. Once propagated, your migration is complete!
Frequently Asked Questions (FAQ) about Migrating WordPress Without Plugin
Is it really safe to migrate WordPress manually?
Yes, it is completely safe and even preferable if done carefully. The key to security is Step 1: the full backup. In my experience, as long as you have a working backup (files + database) and don't improvise with URLs, you can always go back. The manual method gives you control that no plugin can offer.
What do I do if my database is too big and phpMyAdmin gives error?
This is a common problem. If your file .sql exceeds the upload limit of your server (usually 50-128MB), you have options. The easiest is to contact your new hosting support and ask them to import it for you. For advanced users, it can be done via SSH with the command line, which has no runtime limits.
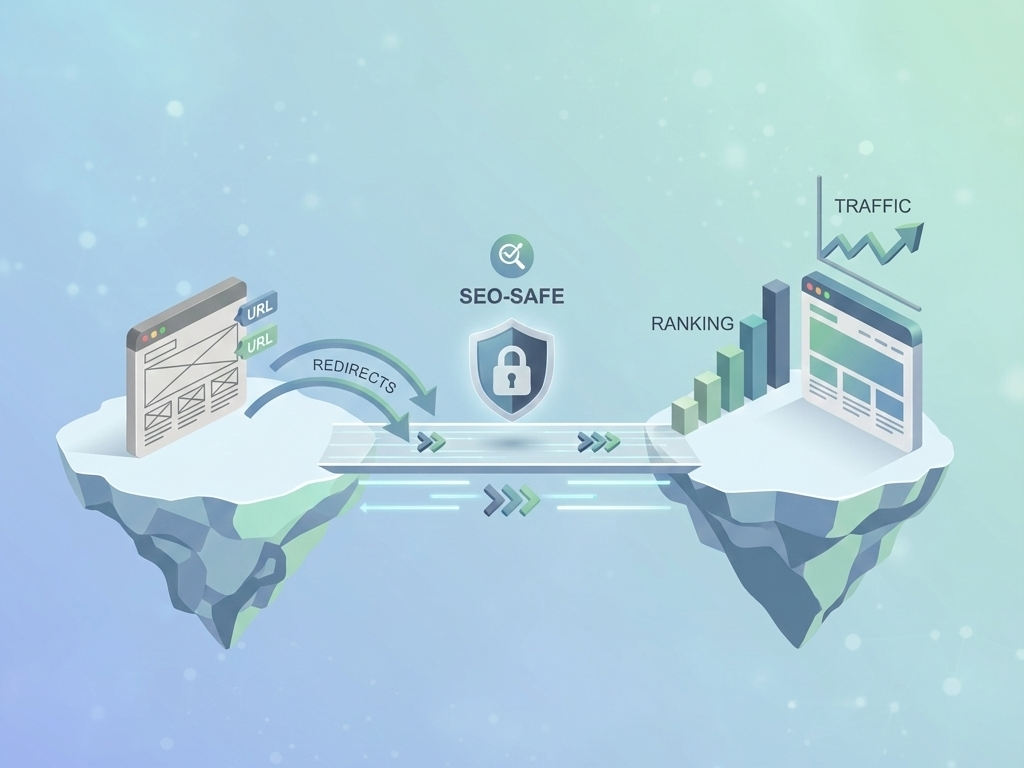
Will I lose SEO positioning when migrating?
If you follow this guide to the letter, the impact on SEO should be zero or even positive (if you move to a faster hosting). In my experience, the critical points for SEO are the correct update of all URLs (Step 5), avoiding long downtimes and not leaving the site blocked by temporary configurations. Once migrated, use tools like Screaming Frog or Google Search Console to detect possible broken links.
Conclusion: The Power of Manual Migration is in Your Hands
Congratulations! You have navigated through the entire process of migrate WordPress without plugin. It may seem like a long process, but by doing so you have gained full control over your website and a thorough knowledge of its components. In my experience, mastering this manual migration makes you faster and more confident in any future changes (hosting, domain, staging/production). You have avoided relying on third party software, saved money and ensured that the transition is done as cleanly as possible.
The next time you need to move your WordPress, you'll no longer feel fear, but the confidence of knowing exactly what to do. And if something doesn't add up, you'll be able to identify where the fault lies. Control is yours!